Introduction
What is a Magic Ring?
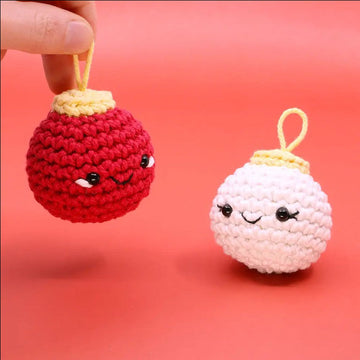
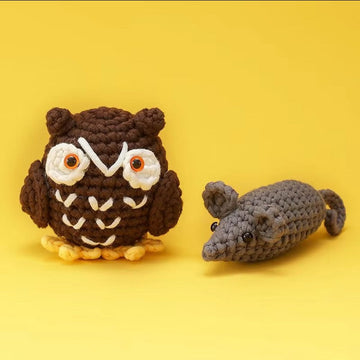
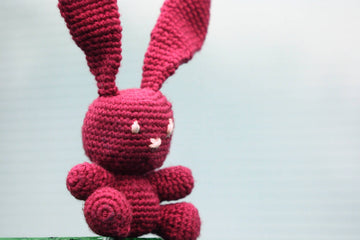
The magic ring, also known as the magic circle or adjustable ring, is a foundational technique in crochet. It allows you to start projects like amigurumi, hats, and coasters with a tightly closed center, eliminating the unsightly hole that often appears when using a traditional chain start. This technique is especially popular in amigurumi, where a seamless finish is crucial for creating polished and professional-looking stuffed toys.
The magic ring is essentially a loop of yarn that can be adjusted to tighten or loosen as needed. Unlike starting with a chain, which often leaves a small gap in the center, the magic ring ensures a completely closed beginning, making it ideal for projects that require a neat and tidy start.
Why Use a Magic Ring?
The magic ring is essential for creating a seamless and professional finish. It’s particularly popular in amigurumi (crocheted stuffed toys) and circular projects like mandalas. By mastering this technique, you’ll elevate your crochet skills and open the door to more advanced patterns.
One of the biggest advantages of the magic ring is its versatility. Whether you’re making a small amigurumi ball or a large circular blanket, the magic ring provides a sturdy and adjustable foundation. Additionally, it allows you to control the tension of your stitches, ensuring that your project looks consistent and well-crafted.
At WOOHOBBY, we’re passionate about helping beginners learn and grow in their crafting journey. Whether you’re new to crochet or looking to refine your skills, our tutorials and resources are here to guide you every step of the way. From step-by-step guides to video tutorials, we’ve got everything you need to master the magic ring and beyond.
Materials Needed
Before diving into the magic ring tutorial, gather these essential supplies:

Yarn
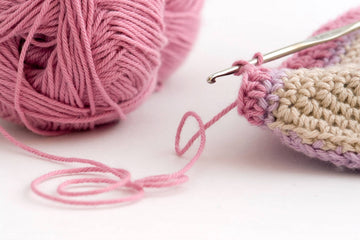
Choose a medium-weight yarn (worsted or DK) in a light color for better visibility. Light-colored yarn makes it easier to see your stitches, which is especially helpful when you’re learning a new technique. If you’re working on a specific project, such as amigurumi, consider using a soft and durable yarn like cotton or acrylic.
Crochet Hook
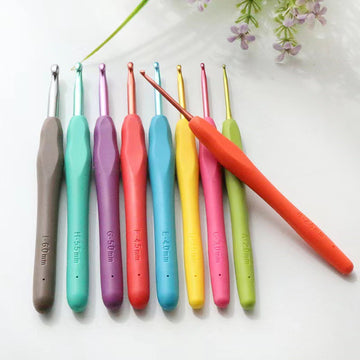
Use a hook size recommended for your yarn. For beginners, a 5mm (H-8) hook is a great starting point. The size of your hook will depend on the thickness of your yarn and the tension you prefer. If you’re unsure, check the label on your yarn for recommended hook sizes.
Scissors
A small pair of sharp scissors will help you cut the yarn cleanly. Precision is key when working on detailed projects, so having a reliable pair of scissors is essential.
Optional Tools
- Stitch Markers: These can help you keep track of your rounds, especially when working on circular projects.
- Yarn Needle: A yarn needle is useful for weaving in ends and securing your work.
Step-by-Step Tutorial
Step 1: Creating the Loop
Hold the yarn tail in your left hand (if you’re right-handed) and wrap it around your fingers to form a loop. The tail should be at least 4-6 inches long to ensure you have enough yarn to secure the ring later.
Cross the working yarn (attached to the ball) over the tail to create an “X” shape. This forms the foundation of your magic ring.
Step 2: Inserting the Hook
Insert your crochet hook under the first strand of yarn and over the second strand. This creates a small loop on your hook.
Pull the working yarn through the loop to create a new loop on your hook. This step secures the yarn and prepares you for the next step.
Step 3: Making the First Chain
Yarn over (wrap the yarn around the hook) and pull through the loop on your hook. This creates a chain stitch, which secures the magic ring and prepares you to start crocheting.
Step 4: Working Stitches into the Ring
Insert your hook into the center of the ring. Make sure to go under both strands of yarn to ensure a secure stitch.
Yarn over and pull up a loop. You should now have two loops on your hook.
Yarn over again and pull through both loops on the hook to complete a single crochet stitch.
Repeat this process until you’ve made the required number of stitches for your pattern. For example, if your pattern calls for 6 single crochet stitches, you’ll work 6 stitches into the ring.

Step 5: Tightening the Ring
Hold the stitches with one hand and pull the yarn tail with the other to close the ring tightly. This step is crucial for creating a seamless center.
Secure the tail by weaving it into your work or tying a small knot. This ensures that your magic ring stays closed and doesn’t unravel over time.
For a visual guide, check out this helpful YouTube tutorial:
How to Crochet a Magic Ring for Beginners
Tips for Beginners
Common Mistakes to Avoid
- Pulling Too Tight: This can make it difficult to insert your hook for the next stitches. If your stitches feel too tight, try loosening your grip on the yarn.
- Leaving the Ring Too Loose: A loose ring won’t close properly, leaving a gap in your work. Make sure to pull the tail firmly to tighten the ring.
- Skipping the Chain Stitch: The chain stitch at the beginning helps secure the ring. Skipping this step can result in an unstable foundation.
How to Practice Effectively
- Start with a larger hook and thicker yarn to make the process easier. This will help you get a feel for the technique without struggling with small stitches.
- Practice making magic rings repeatedly until you feel confident. Repetition is key to mastering any new skill.
- Use stitch markers to keep track of your rounds, especially when working on circular projects.
Troubleshooting Tips
If Your Ring Won’t Close: Make sure you’re pulling the correct yarn tail. Sometimes, beginners accidentally pull the working yarn instead of the tail.
If Your Stitches Are Uneven: Pay attention to your tension. Try to keep your stitches consistent in size and tightness.
FAQs
What is the Magic Ring Used For?
The magic ring is commonly used for starting projects that require a closed center, such as amigurumi, hats, and circular motifs. It’s also great for creating a seamless finish in projects like coasters and doilies.
Can I Use a Chain Instead of a Magic Ring?
While you can start with a chain, it often leaves a small hole in the center. The magic ring provides a cleaner, more professional finish, especially for projects like amigurumi.
How Do I Fix a Loose Magic Ring?
If your ring is too loose, gently pull the yarn tail to tighten it. You can also weave the tail through the stitches to secure it further.
Is the Magic Ring Suitable for All Projects?
The magic ring is ideal for projects that require a closed center, but it may not be necessary for all patterns. For example, if you’re working on a flat project like a scarf, a traditional chain start may be more appropriate.
How Do I Choose the Right Yarn for a Magic Ring?
Choose a yarn that matches your project’s requirements. For amigurumi, a soft and durable yarn like cotton or acrylic is ideal. For larger projects, consider using a thicker yarn for added stability.
Conclusion
Mastering the magic ring is a game-changer for any crocheter. It’s a versatile technique that opens up endless possibilities for creating beautiful, seamless projects. Whether you’re making amigurumi, hats, or decorative items, the magic ring ensures a polished and professional look.
At WOOHOBBY, we’re dedicated to helping you succeed in your crafting journey. From beginner-friendly tutorials to advanced patterns, our website is your one-stop shop for all things crochet. Visit us today to explore more tips, tricks, and inspiration!
