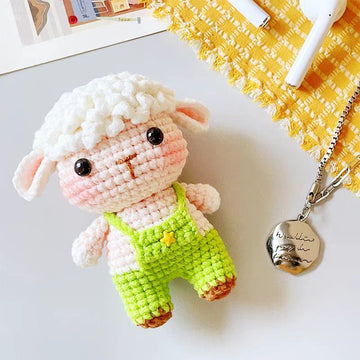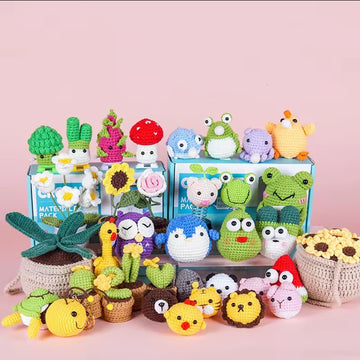
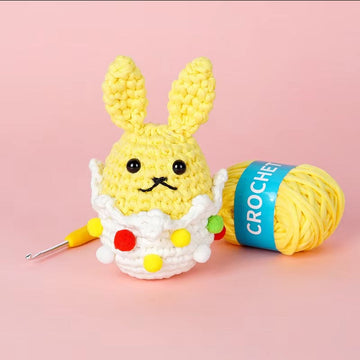
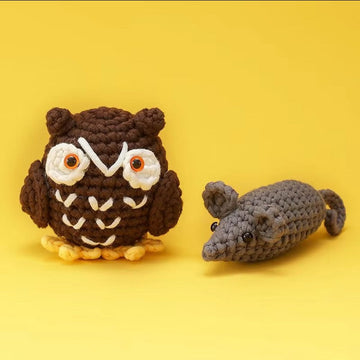
Welcome to the Amigurumi Crochet Tutorial page! Whether you're a beginner or an experienced crocheter, this is the perfect place to dive into the adorable world of amigurumi. These handcrafted crochet toys, often inspired by animals, characters, and cute figures, are a fun and creative way to express your crafting skills. In this tutorial, you'll learn everything from basic stitches to more advanced techniques, helping you create your own charming crochet toys step by step. Grab your yarn and hooks—let's start crafting together!
Basic Crochet Stitches Overview
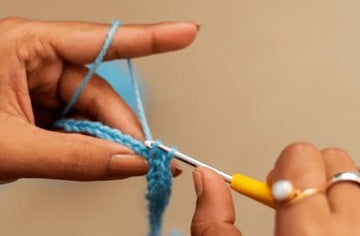
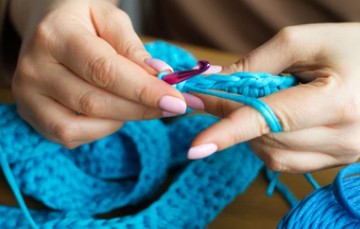
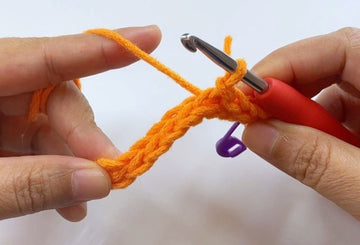
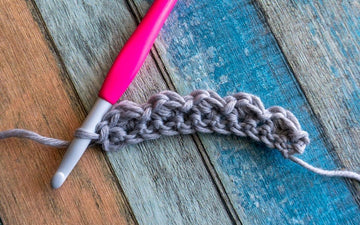
Before you begin creating your Amigurumi, it's essential to understand these basic crochet stitches. If you're new to crochet, check out our in-depth guides to master these techniques.
Common Mistakes and How to Fix Them

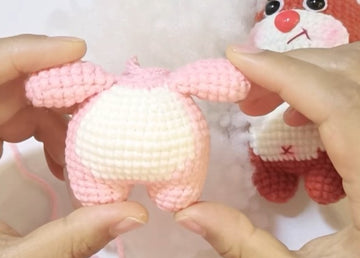
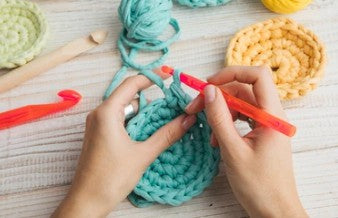
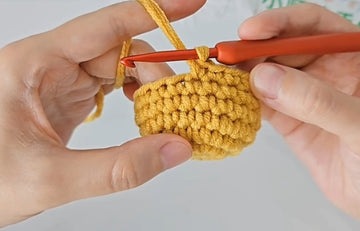
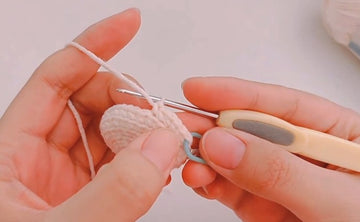
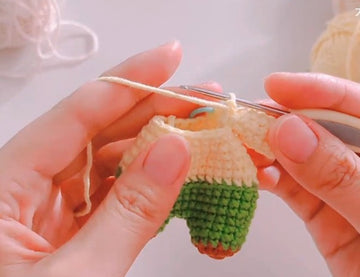
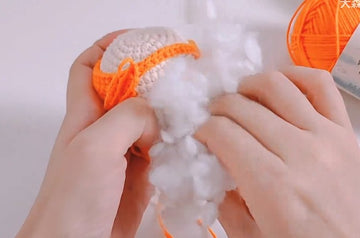
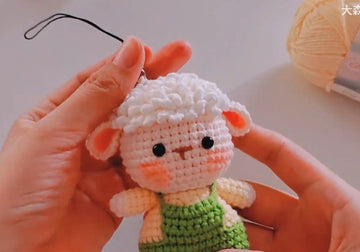
Step-by-Step Amigurumi Tutorial
Frequently Asked Questions (FAQ)
How to adjust the size of the Amigurumi?
1. Change your hook size
- Using a smaller hook makes tighter, smaller amigurumi
- Using a larger hook creates bigger amigurumi
- Generally, use a hook 2-3 sizes smaller than recommended for your yarn
2. Adjust your yarn weight
- Thinner yarn = smaller amigurumi
- Thicker yarn = larger amigurumi
- For example, using sport weight instead of worsted weight will create a smaller version
How to fix loose stitches?
1. Prevention:
- Use a smaller hook size than recommended
- Maintain consistent tension while crocheting
- Pull each stitch tight before moving to the next one
2. Solutions for existing loose stitches:
- Pull the working yarn tighter after each stitch
- Make sure to insert hook under both loops
- Use stitch markers to maintain even stitch counts
- Work your stitches closer together
Best types of yarn for Amigurumi?
1. Cotton yarn
- Pros: Strong, durable, holds shape well
- Great stitch definition
- Perfect for beginners
- Example brands: Lily Sugar'n Cream, DMC Natura
2. Acrylic yarn
- Pros: Affordable, widely available
- Good stiffness for structure
- Easy to care for
- Example brands: Red Heart Super Saver, Lion Brand Vanna's Choice
3. Cotton-acrylic blends
- Best of both worlds
- Good stitch definition with added durability
- Example brands: Lion Brand Cotton-Ease