Introduction
What is Crocheting?
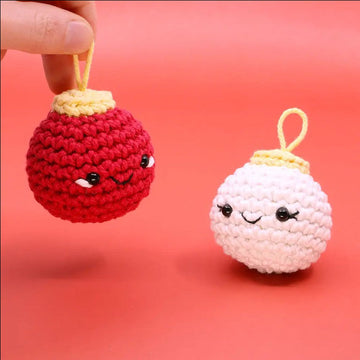
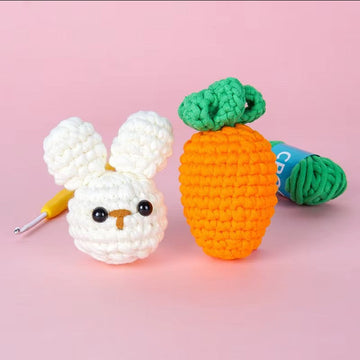
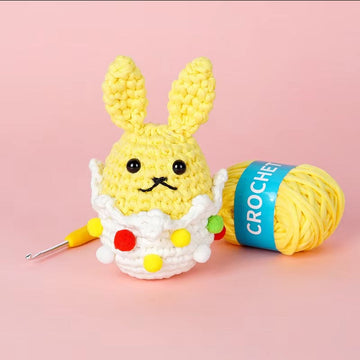
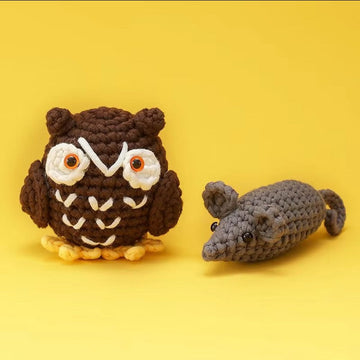
Crocheting is a timeless craft that involves creating fabric by interlocking loops of yarn with a crochet hook. It’s a versatile hobby that allows you to make everything from blankets and scarves to adorable stuffed animals like cats. The rhythmic motion of crocheting is not only meditative but also incredibly rewarding as you watch your project come to life stitch by stitch.
Why Crochet a Cat?
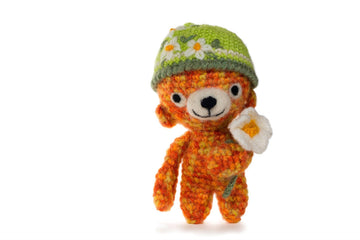
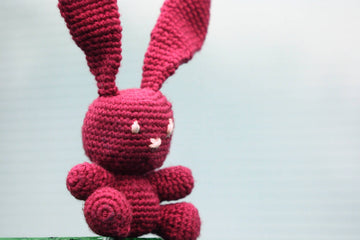
Crocheting a cat is a fun and rewarding project, especially for beginners. Not only does it help you practice basic stitches, but it also results in a cute, handmade keepsake or gift. Whether you’re making it for yourself, a loved one, or as a decorative piece, a crocheted cat is sure to bring joy. Plus, it’s a great way to relax and unleash your creativity.
Introducing WOOHOBBY
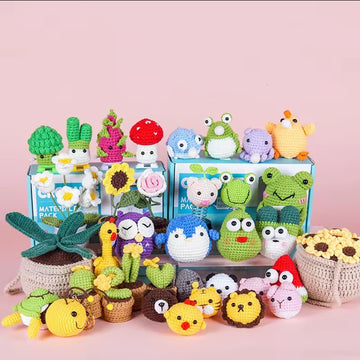
At WOOHOBBY, we’re passionate about helping crafters of all skill levels bring their creative visions to life. From high-quality yarns and crochet hooks to step-by-step tutorials, we’ve got everything you need to start your crochet journey. Our mission is to make crafting accessible, enjoyable, and inspiring for everyone. Visit our website to explore our wide range of products and resources, and join our community of passionate crafters today!

Getting Started
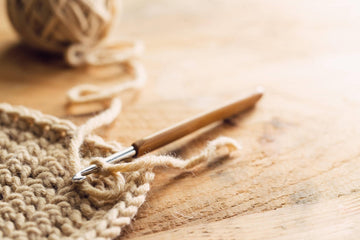
Materials Needed
Before you begin, gather the following supplies:
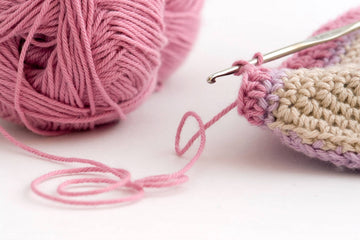
- Yarn: Medium-weight yarn is ideal for beginners. Choose a color that matches your vision for your crochet cat.
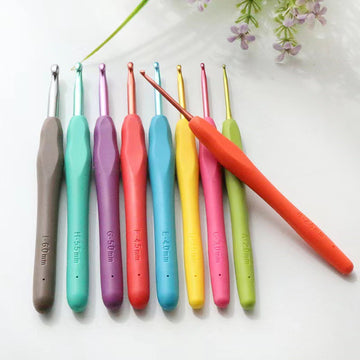
- Crochet Hook: A 4mm or 5mm hook is recommended for medium-weight yarn.
- Scissors: Sharp scissors are essential for cutting yarn cleanly.
- Stitch Markers: These help you keep track of your rounds and stitches.
- Yarn Needle: A blunt-tipped needle is used for weaving in ends and assembling pieces.
- Stuffing Material: Polyfill is a popular choice for stuffing amigurumi projects.
- Safety Eyes or Embroidery Thread: Safety eyes give your cat a professional look, while embroidery thread allows for customization.
Basic Crochet Stitches to Know
To crochet a cat, you’ll need to master a few basic stitches:
- Chain Stitch (ch): The foundation of most crochet projects. It’s used to create the starting row or to build height in your work.
- Single Crochet (sc): A simple stitch used for tight, dense fabric. It’s the most common stitch in amigurumi (crocheted stuffed animals).
- Increase (inc): Adding stitches to make the work wider. This is essential for shaping your cat’s head and body.
- Decrease (dec): Reducing stitches to shape the work. This is used to create curves and contours in your project.
Step-by-Step Guide
Step 1: Choosing the Right Yarn and Hook
Select a soft, medium-weight yarn in your desired color. A 4mm or 5mm hook is perfect for beginners. WOOHOBBY offers a variety of yarns and hooks to suit your needs. If you’re unsure where to start, check out our beginner-friendly kits that include everything you need to get started.
Step 2: Starting with the Magic Ring
The magic ring is a technique used to start crocheting in the round. It creates a tight, closed center for your project, which is essential for amigurumi. Here’s how to make a magic ring:
- Wrap the yarn around your fingers to form a loop.
- Insert your hook into the loop and pull up a loop of yarn.
- Chain one to secure the loop.
- Work your first round of stitches into the loop.
- Pull the tail end of the yarn to tighten the ring.
Step 3: Crocheting the Head
- Make a magic ring and work 6 single crochet stitches into it.
- Increase evenly in each round until you reach the desired size. For example, in the second round, work 2 single crochets into each stitch (12 stitches total).
- Continue crocheting even rounds to form the head shape. Stuff the head lightly with polyfill as you go.
Step 4: Creating the Body
- Start with a magic ring and crochet in rounds, increasing as needed.
- After reaching the desired width, crochet even rounds to create the body.
- Stuff the body firmly to give it structure.
Step 5: Adding the Legs and Tail
- For the legs, crochet small tubes and stuff them lightly. Attach them to the bottom of the body.
- The tail can be a simple chain or a thin, stuffed tube. Attach it to the back of the body.
Step 6: Crafting the Ears
- Crochet two small triangles or semi-circles for the ears.
- Attach them to the top of the head using a yarn needle.
Step 7: Assembling the Cat
- Sew the head, body, legs, and tail together using a yarn needle.
- Ensure all parts are securely attached and the stuffing is evenly distributed.
Step 8: Adding Details (Eyes, Nose, Whiskers)
- Attach safety eyes or embroider eyes using black yarn.
- Add a small triangle for the nose and stitch whiskers with white yarn.
For a more detailed visual guide, check out our Complete Collection of Crochet Cat Tutorial Videos on Dailymotion. These videos provide step-by-step instructions and tips to help you perfect your crochet cat.

Tips for Beginners
Common Mistakes to Avoid
- Using the wrong hook size for your yarn: This can result in stitches that are too tight or too loose.
- Pulling stitches too tight or too loose: Consistent tension is key to creating even stitches.
- Forgetting to count stitches in each round: This can lead to uneven shapes and sizes.
How to Fix Errors
- Use a stitch marker to keep track of your rounds.
- If you make a mistake, simply unravel the stitches and try again. Don’t be afraid to start over—it’s all part of the learning process!
Practicing Patience
Crocheting takes time and practice. Don’t get discouraged if your first cat doesn’t turn out perfectly. Keep practicing, and you’ll improve with each project. Remember, every expert was once a beginner!
FAQs
What is the easiest crochet stitch for beginners?
The single crochet stitch is the easiest and most versatile for beginners. It’s simple to learn and forms the foundation for many crochet projects.
How long does it take to crochet a cat?
For beginners, it may take 4-6 hours. With practice, you can complete it in 2-3 hours.
Can I use different colors for my crochet cat?
Absolutely! Experiment with different yarn colors to create unique designs. You can even add stripes or patterns for a personalized touch.
Where can I find more crochet tutorials?
Visit WOOHOBBY’s website and YouTube channel for a wide range of tutorials. We also offer beginner-friendly kits and patterns to help you get started.
Why choose WOOHOBBY for crochet supplies?
WOOHOBBY offers high-quality materials, affordable prices, and excellent customer service, making it the perfect choice for crafters. Our mission is to inspire creativity and make crafting accessible to everyone.
Conclusion
Crocheting a cat is a delightful project that combines creativity and relaxation. Whether you’re a beginner or an experienced crafter, this step-by-step guide will help you create a charming keepsake. The sense of accomplishment you’ll feel when you finish your first crochet cat is truly unmatched.
For more crochet inspiration, tutorials, and supplies, visit WOOHOBBY. Explore our collection and start your next project today! Join our community of crafters and discover the joy of creating something beautiful with your own hands.