
Introduction
Why Crochet Animal Ears and Tails?
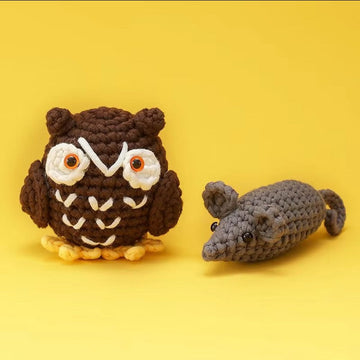
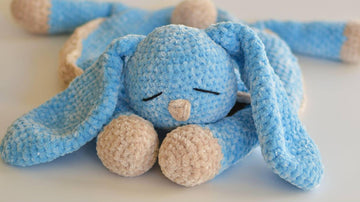
Crocheting animal ears and tails is a delightful way to add a touch of whimsy to your wardrobe or to create charming costumes for children. Whether you're dressing up for a themed party, a cosplay event, or just want to add a playful accessory to your outfit, crocheted animal ears and tails are perfect for the job. They are also great gifts for animal lovers and can be customized to match any animal you can imagine.
About WOOHOBBY
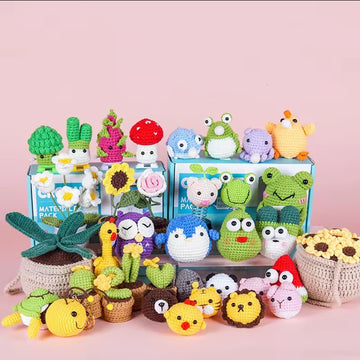
At WOOHOBBY, we are passionate about all things crochet. Our mission is to provide high-quality crochet supplies and easy-to-follow tutorials that inspire creativity in crafters of all skill levels. Whether you're a beginner or an experienced crocheter, our products and resources are designed to help you bring your creative visions to life. Check out our 2-Pack Crochet Starter Kit Cat with Adjustable Tail for everything you need to get started on your crochet journey.
Getting Started
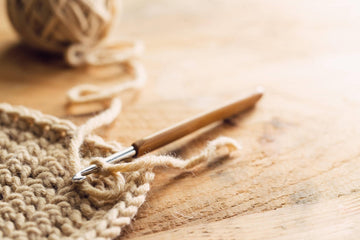
Materials Needed
Before you begin, gather the following materials:
Yarn in your desired colors
Crochet hooks (sizes may vary depending on your yarn)
Stitch markers
Yarn needle
Scissors
Stuffing (for tails)
WOOHOBBY's 2-Pack Crochet Starter Kit Cat with Adjustable Tail (optional but highly recommended)

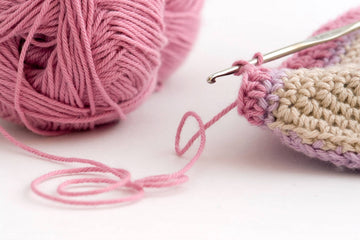
Understanding Basic Crochet Stitches
To crochet animal ears and tails, you'll need to be familiar with a few basic crochet stitches:
Chain Stitch (ch): The foundation of most crochet projects.
Single Crochet (sc): A basic stitch that creates a tight, dense fabric.
Half Double Crochet (hdc): Slightly taller than a single crochet, offering a bit more flexibility.
Double Crochet (dc): A taller stitch that works up quickly.
Magic Ring: A technique used to start projects worked in the round, perfect for creating the base of animal ears.
If you're new to these stitches, don't worry! Our tutorial videos, such as this one, provide step-by-step guidance to help you master them.
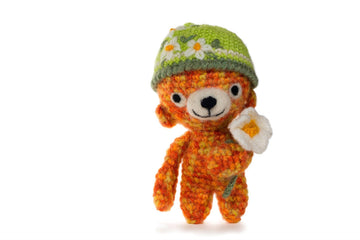
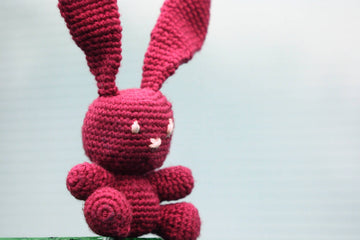
Crocheting Animal Ears
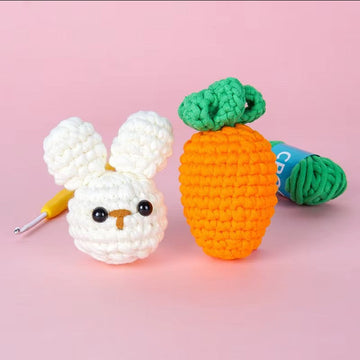
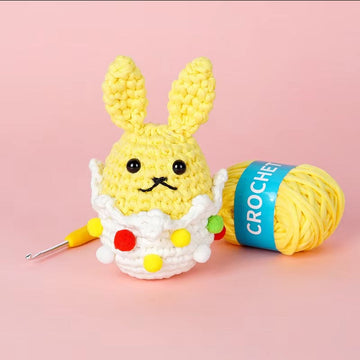
Step 1: Choosing the Right Yarn
Select a yarn that matches the animal you're emulating. For example, use soft, fluffy yarn for bunny ears or sleek, smooth yarn for cat ears. The thickness of the yarn will also affect the size of the ears, so choose accordingly.
Step 2: Starting with a Magic Ring
Begin by creating a magic ring. This technique allows you to start crocheting in the round without leaving a hole in the center. Insert your hook into the ring, yarn over, and pull up a loop. Chain one to secure the ring.
Step 3: Increasing Stitches
Work a set number of single crochet stitches into the magic ring. For example, you might start with 6 sc. Then, increase the number of stitches in each subsequent round to create a flat, circular shape. This will form the base of the ear.
Step 4: Shaping the Ear
Once you've reached the desired size for the base, stop increasing and begin working even rounds to create the height of the ear. You can shape the ear by decreasing stitches gradually or by changing the stitch type to create a pointed or rounded tip.
Step 5: Finishing Off
After shaping the ear, fasten off the yarn and weave in the ends using a yarn needle. Repeat the process to create a second ear. Attach the ears to a headband, hat, or directly to a hood for a finished look.

Crocheting Animal Tails
Step 1: Selecting the Yarn
Choose a yarn that complements the ears you've created. For a fluffy tail, consider using a bulky or textured yarn. For a sleek tail, opt for a smooth, lightweight yarn.
Step 2: Creating the Base
Start by creating a magic ring and working a few rounds of single crochet to form the base of the tail. Increase stitches as needed to achieve the desired thickness.
Step 3: Building Length
Continue working in rounds, maintaining the same number of stitches to create a long, cylindrical shape. For a more realistic tail, you can vary the stitch count slightly to create a tapered effect.
Step 4: Adding Texture
To add texture to the tail, consider using different stitches or techniques. For example, you can use front post or back post stitches to create ridges, or add fringe or tassels to the end of the tail for a playful touch.
Step 5: Final Touches
Once the tail is the desired length, fasten off the yarn and weave in the ends. If you're creating a tail that needs to be stuffed, fill it with polyester fiberfill before closing off the end. Attach the tail to a belt, clip, or directly to clothing using a yarn needle and matching yarn.

Advanced Tips and Tricks
Customizing Ears and Tails
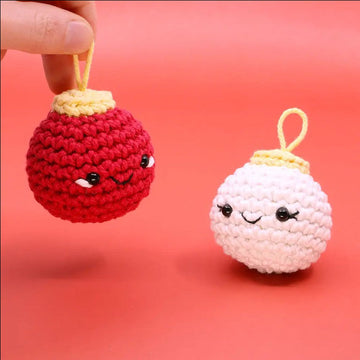
One of the best things about crocheting animal ears and tails is the ability to customize them to your liking. Experiment with different yarn colors, textures, and stitch patterns to create unique designs. You can also add embellishments like beads, buttons, or embroidery to make your creations truly one-of-a-kind.
Adding Embellishments
Embellishments can take your crocheted animal ears and tails to the next level. Consider adding small details like whiskers, spots, or stripes to mimic the animal you're representing. You can also use fabric paint or markers to add additional details.
FAQs
Q: How long does it take to crochet animal ears and tails?
A: The time it takes to crochet animal ears and tails can vary depending on your skill level and the complexity of the design. Experienced crocheters can typically complete a set of ears and a tail in 3-4 hours.
Q: Can I use the same pattern for different animals?
A: Yes, many animal ears and tails can be created using similar patterns. By adjusting the size, shape, and color of your yarn, you can create ears and tails for a variety of animals.
Q: Where can I find more crochet patterns and tutorials?
A: WOOHOBBY offers a wide range of crochet patterns and tutorials on our website and YouTube channel. Check out our tutorial videos for more inspiration and guidance.
Q: What if I'm a beginner?
A: If you're new to crochet, don't worry! Our 2-Pack Crochet Starter Kit Cat with Adjustable Tail is perfect for beginners. It includes everything you need to get started, along with easy-to-follow instructions.
Q: Can I sell my crocheted animal ears and tails?
A: Yes, you can sell your crocheted creations. However, if you're using a pattern from WOOHOBBY, please credit us as the source of the design.
Conclusion
Crocheting animal ears and tails is a fun and rewarding project that allows you to express your creativity and add a touch of whimsy to your wardrobe. Whether you're making them for yourself, as a gift, or to sell, the possibilities are endless. With the right materials, a bit of practice, and the guidance of WOOHOBBY's tutorials and products, you'll be creating adorable animal accessories in no time.
Ready to start your next crochet project? Visit WOOHOBBY for all your crochet needs. From beginner-friendly kits to advanced patterns, we have everything you need to bring your creative visions to life. Don't forget to check out our 2-Pack Crochet Starter Kit Cat with Adjustable Tail and our tutorial videos for more inspiration and guidance.